Exposure metering might sound complicated at first, but it’s super important for anyone who loves photography. Whether you’re a pro or just enjoy taking photos for fun, the right exposure can make the difference between an okay photo and a really great one. In this article, we’ll look at why exposure metering is so important and how you can use it for your photos. We’ll cover different metering methods, discuss the technology that helps you, and give practical tips on how to apply what you’ve learned. In the end, you’ll see how the right exposure metering can take your photos to the next level.
Key Insights
- Exposure metering helps you find the right brightness for your photos.
- There are different metering methods that can be used depending on the subject and situation.
- A histogram can help you avoid overexposure or underexposure.
- Technical tools like light meters and tripods support you in capturing the perfect shot.
- In post-processing, you can get more out of your photos with the right exposure.
Why Exposure Metering Is Your Best Friend
The Basics of Exposure Metering
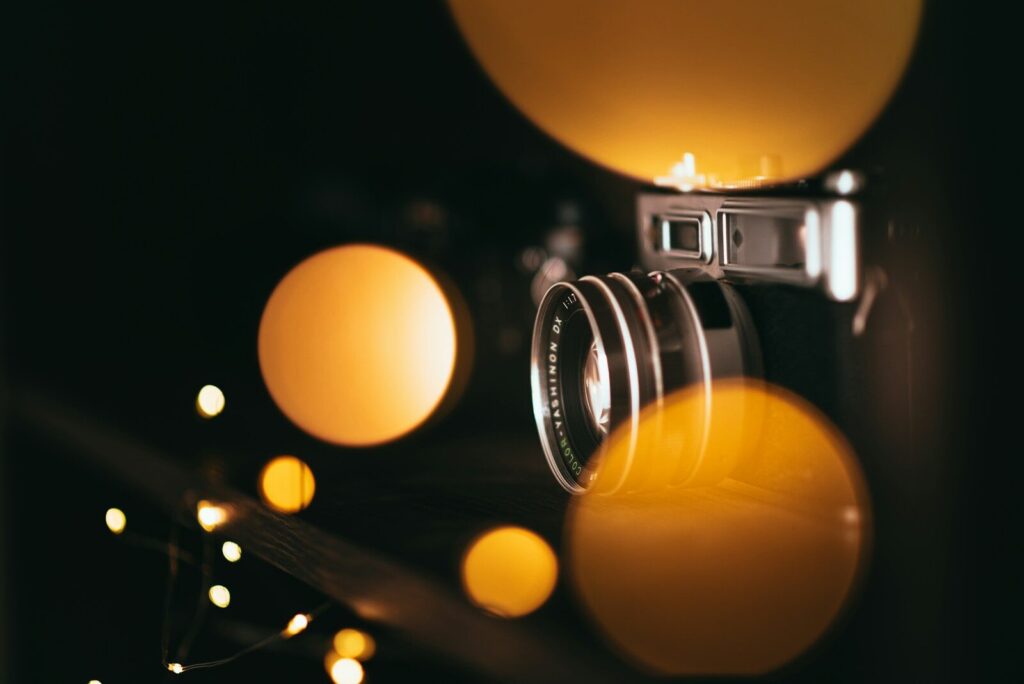
Photography is more than just pressing the shutter button. It’s about understanding the light and using it correctly. Exposure metering is your tool to do just that. It helps you find the right balance between aperture, shutter speed, and ISO. Without correct exposure metering, the image can become too dark or too bright. So why not get it right from the start?
How Exposure Metering Improves Your Photos
With the right exposure metering, you can significantly enhance the quality of your photos. Here are some benefits:
- Control over light and shadow: You can determine how much light enters your camera and thus influence the mood of the image.
- Better color reproduction: Correct exposure ensures that colors appear as vivid and realistic as possible.
- Less post-processing: The better the exposure, the less you have to correct later on the computer.
Mistakes You Can Avoid
Even experienced photographers sometimes make mistakes with exposure. Here are some common mistakes you can avoid:
- Not paying attention to the histogram: This little diagram can tell you a lot about the exposure of your photo.
- Ignoring the light source: Pay attention to the direction of the light and how it affects your subject.
- Relying too much on automation: Sometimes it’s better to set the exposure manually, especially in difficult lighting situations.
“Exposure metering is like a good friend who shows you the way, even when you lose track.”
With these tips and tricks, exposure metering will become your best friend and helper in photography. Try it out and you’ll see the difference!
The Different Types of Exposure Metering
Spot Metering: Precision at Its Best
Spot metering is like the sniper rifle among exposure methods. It focuses on a tiny area of the image, often only about 5% of the total area. Ideal for situations where absolute precision is required, such as portraits or action shots. You can measure the incoming light exactly where it matters most. Learn more about spot metering.
Integral Metering: The All-Rounder
Integral metering is the classic and still found in many older camera models. It considers the entire image field evenly, without special weighting. Perfect for landscape photos or scenes with even lighting, such as church interiors. However, integral metering has competition from more modern algorithms that often deliver better results.
Selective Metering: For the Finishing Touch
Selective metering is the golden mean between spot and integral metering. It captures about 10-15% of the image area and is excellent for scenes with strong contrasts, where you want to measure more than just one point but less than the whole image. Ideal for creative still lifes or scenes where you want to achieve artistic effects.
The choice of the right exposure metering can make the difference between a good and a great photo. Experiment with the different methods to find out which one best suits your style.
Technical Tools for Perfect Exposure
A light meter is like your best friend when it comes to the right exposure. Sure, many cameras already have one built-in, but sometimes you just need more precision. An external light meter measures the light directly and not just what is reflected from your subject. This ensures that your exposure settings really fit.
The Histogram: Your Visual Helper
If you’ve ever taken a photo, you know that the histogram is a great tool. It shows you how the brightness is distributed in your image. A good trick is to pay attention to the curve: it should not peak too much on the left or right. This way, you avoid your image being too dark or too bright.
Tripods and Other Tools
For long exposures or in low light, a tripod is really worth its weight in gold. It keeps your camera stable so nothing blurs. Especially useful when you’re photographing the night sky or at sunset on the beach. Besides tripods, there are also remote releases and spirit levels that can help you take the perfect shot.
Sometimes it’s the little helpers that make the difference between a good and a perfect photo. Just try it out and see what works best for you!
Exposure Metering in Practice
Tips for Landscape Photography
Landscape photography is a game of light and shadow. To capture the beauty of nature, it’s important to use exposure metering correctly. A good tip is to use spot metering to measure the light on a specific point, like a mountain peak or a tree. This way, you can ensure that the details in these areas are not lost. Here are a few steps that can help you:
- Choose the right time to catch the best light, like the golden hour.
- Use a tripod to avoid camera shake.
- Use a light meter for accurate light measurement.
Exposure Metering for Portraits
Portraits require precise exposure metering to clearly and expressively depict facial features. Spot metering is also useful here, as it helps to correctly expose the face, even if the background is very bright or dark. Make sure the eyes are well-lit to keep the expression lively.
- Position the light source so that it evenly illuminates the face.
- Use reflectors to reduce shadows.
- Set the camera to manual exposure control for full control.
Challenges in Night Photography
Night photography is tricky because the light is often very limited. Good exposure metering is crucial here to make details visible without overexposing the image. Integral metering can help to evenly expose the entire image.
- Increase the ISO value to capture more light, but watch out for image noise.
- Experiment with longer exposure times.
- Use a tripod to keep the camera stable.
“The art of photography is to make the invisible light visible. With the right exposure metering, every photo becomes a small masterpiece.”
The Role of Exposure Metering in Post-Processing
RAW Format: More Room for Adjustments
When you shoot in RAW format, you have more freedom in post-processing. RAW files store more image information, allowing you to correct exposure errors more easily. This is especially useful if you’ve underexposed a shot. Unlike JPEGs, you can adjust the brightness here without compromising image quality.
RAW gives you the opportunity to get the best out of your photos, even if the exposure wasn’t perfect.
Exposure Correction in Lightroom
Lightroom is a powerful tool to optimize the exposure of your photos. Here are a few steps you can follow:
- Adjust exposure: Use the exposure slider to make the entire image brighter or darker.
- Enhance contrast: A little more contrast can help highlight details.
- Edit highlights and shadows: This way, you can save overexposed areas or bring out details in dark areas.
For high-key photography, it’s important to reduce contrast to achieve aesthetic images.
Avoiding Overexposure and Underexposure
A histogram is your best friend when it comes to avoiding overexposure and underexposure. It shows you how the brightness is distributed in your image. Make sure the peaks are not too strong at the edges to preserve details.
A few tips:
- Avoid overexposure: It’s better to shoot a little darker and brighten in post-processing.
- Correct underexposure: Use RAW format to recover more details.
- Check the histogram: It helps to understand and adjust the distribution of brightness.
Modern Technologies and Exposure Metering
Digital Cameras and Their Sensors
Nowadays, modern cameras are equipped with a variety of sensors that help you achieve the perfect exposure. These sensors analyze the incoming light and automatically adjust the camera settings. The sensors are like small computers that constantly work to deliver the best possible image. They measure not only brightness but also colors and contrasts to enable a balanced shot. This means you have to worry less about technical details and have more time to focus on your subject.
Algorithms for Exposure Optimization
In addition to sensors, algorithms also play a major role in exposure metering. These algorithms analyze various factors such as lighting conditions, subject distance, and even the type of scene you’re photographing. They then calculate the optimal settings for aperture, shutter speed, and ISO value. The goal is to enable you to take a shot that is both technically correct and aesthetically pleasing. With these algorithms, you can be sure that your images are always well-exposed, whether you’re shooting in bright sunlight or a shady forest.
Manual vs. Automatic Exposure Metering
Although automatic exposure metering is incredibly helpful, there are situations where you want to take control. Manual exposure metering gives you the freedom to make creative decisions and adjust the exposure according to your preferences. You can deliberately overexpose or underexpose to achieve certain effects. The balance between manual and automatic control allows you to create both technically perfect and artistically demanding images.
In today’s world, where technology and art meet, modern exposure metering provides the perfect foundation to realize your photographic visions. Whether you’re a beginner or an experienced pro, the possibilities are almost limitless.
Creative Use of Exposure Metering
Deliberate Overexposure and Underexposure
Sometimes you just don’t want everything to be perfectly lit. Overexposure or underexposure can give your images a very special mood. Imagine you want a picture with dramatic shadows or a mystical haze. By deliberately overexposing, you can emphasize bright areas and create a dreamlike atmosphere. On the other hand, underexposure allows you to capture dark, mysterious scenes that spark the imagination.
Playing with Light and Shadow
Light and shadow are your best friends when it comes to creative photography. By targeted exposure metering, you can control the balance between the two elements and achieve interesting effects. A simple trick is to focus your camera on the brightest or darkest area of your subject. This way, you can let the rest of the image disappear either in shadow or light, often leading to an exciting contrast. Get inspired and experiment with different light sources and angles.
“Photography is more than just a click of the shutter. It’s the play of light and shadow that brings an image to life.”
Artistic Effects through Exposure Adjustment
You can also use exposure metering to achieve artistic effects. One option is light painting, where you create fascinating patterns and shapes in your images with a long exposure time and a light source. This technique requires patience and practice, but the results are often breathtaking. Another method is to deliberately use motion blur to depict dynamics and movement in your photos. Here, it’s important to find the right balance between exposure time and movement to achieve the desired effect.
Conclusion
So, exposure metering is really something you shouldn’t underestimate if you want to take really good photos. Sure, modern cameras take a lot of work off your hands, but a little knowledge never hurts. If you understand how to use aperture, shutter speed, and ISO together with exposure metering, you can do really cool things. Just experiment, make mistakes, and learn from them. In the end, what matters is that you have fun and the pictures turn out the way you envision them. So grab your camera and get started!
Frequently Asked Questions
Why is exposure metering important for photos?
Exposure metering helps determine the right amount of light for a photo so it doesn’t become too bright or too dark.
What types of exposure metering are there?
There are different types like spot metering, integral metering, and selective metering, which are used depending on the subject and lighting conditions.
How can I set the exposure metering in my camera?
In most cameras, you can set the exposure metering in the menu or via special buttons.
What do I do if my photo is overexposed?
You can use exposure compensation to reduce the brightness or make adjustments in post-processing.
Why should I shoot in RAW format?
The RAW format stores more image data and offers more room for adjustments in post-processing.
How can I take good photos in low light conditions?
Use a tripod, increase the ISO sensitivity, or use an external flash to achieve better results.